
Install ESXi
In this walk through we will install ESXi 7 setup the network setting in setting a static IP and setup storage for ISO’s and create a new virtual machine.
1. Install ESXi 7 OS
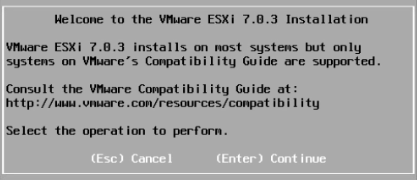
Press Enter to start installer.

Press F11 to accept agreement.
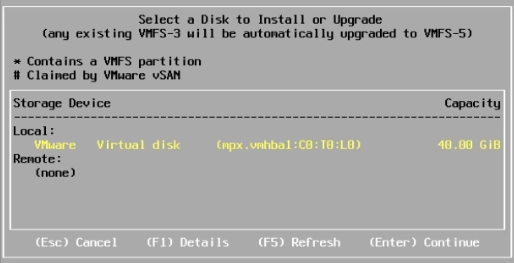
Select hard drive to install ESXi7 on.

Select your desired language.
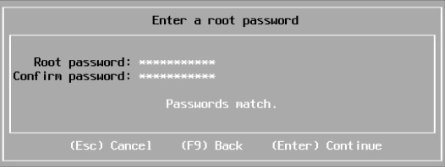
Choose a strong password for root account.
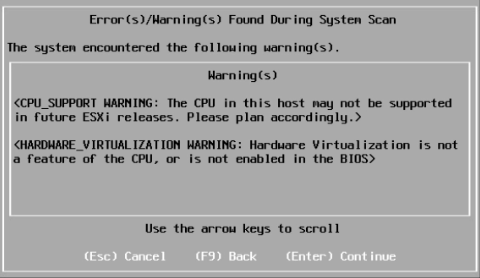
You may get a warning, don’t worry press Enter to continue.
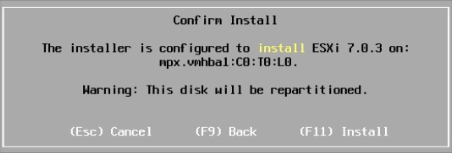
Press F11 to confirm and ESXi7 will then install and you just need to wait till it finishes.
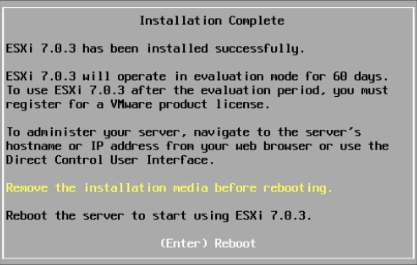
Press Enter to reboot when installation finishes.
2. Configure ESXi Network Settings
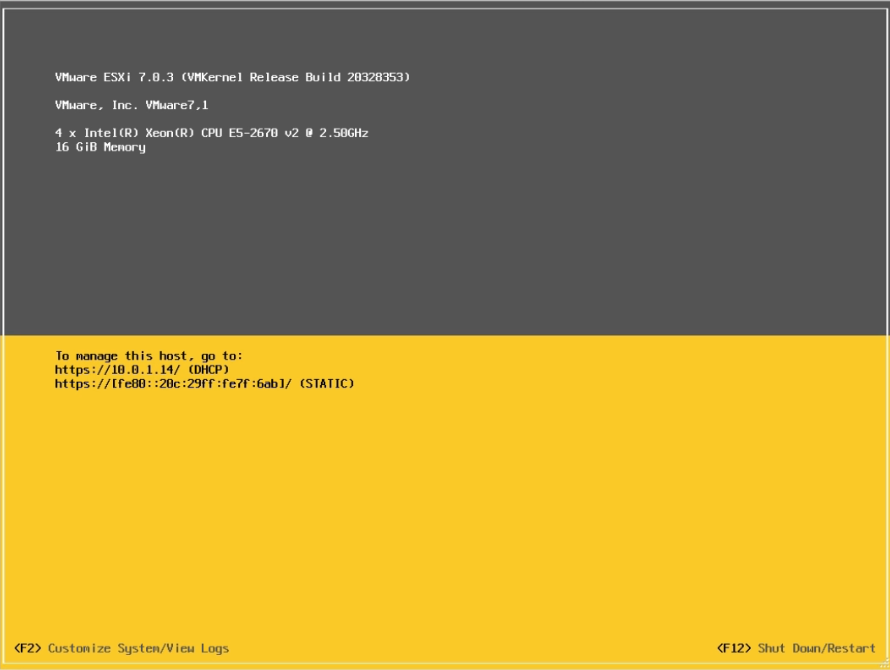
When rebooted press F2 to Customize System/View Logs.
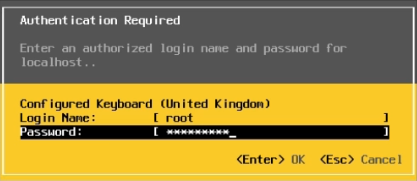
Enter the root password you created earlier.
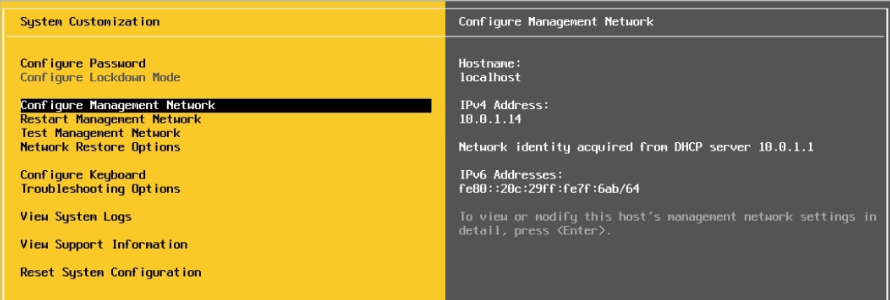
Arrow down to Configure Management Network.
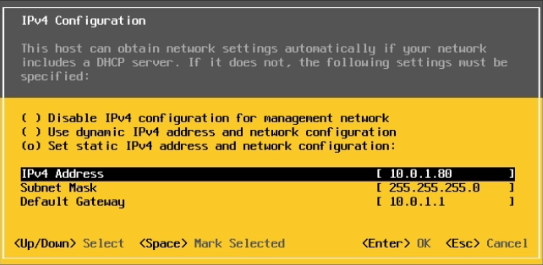
Arrow down to Set static IPv4 address and network configuration, press space-bar, then arrow down to change the IPv4 setting to your required settings.
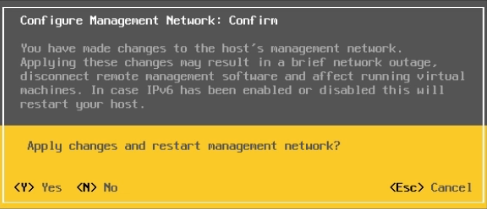
Press Y to accept the changes.

Press the Esc button twice to go back to the main screen.
Open a new browser and enter the static IP address you just created. For me 10.0.1.80
Enter username root and the password you created earlier.
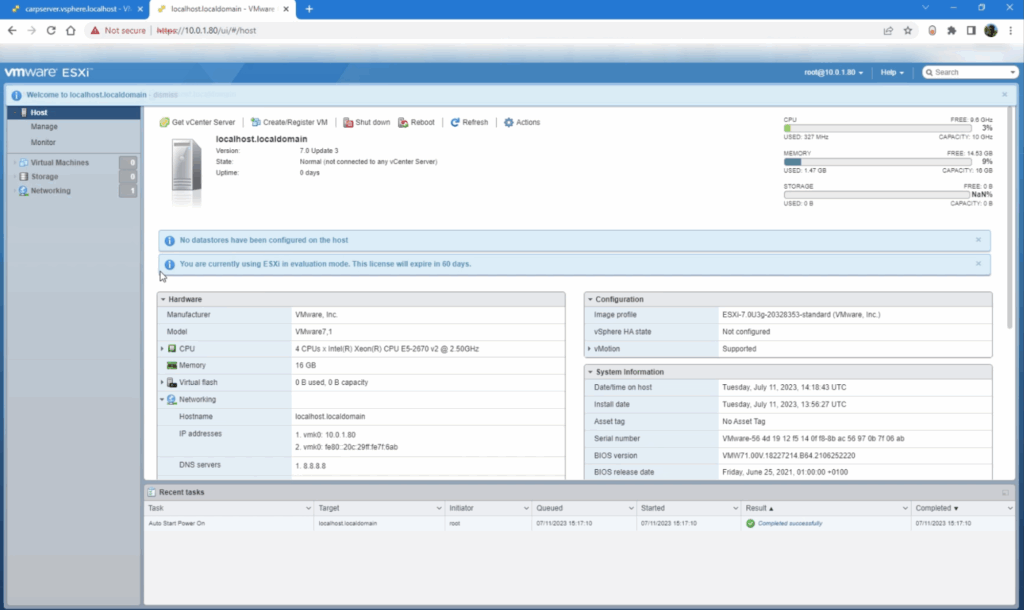
You should be greeted with the vmware ESXi portal.
3. Configure storage

If you have no storage setup then click on Storage then New datastore.

Select Create new VMFS datastore then Next.
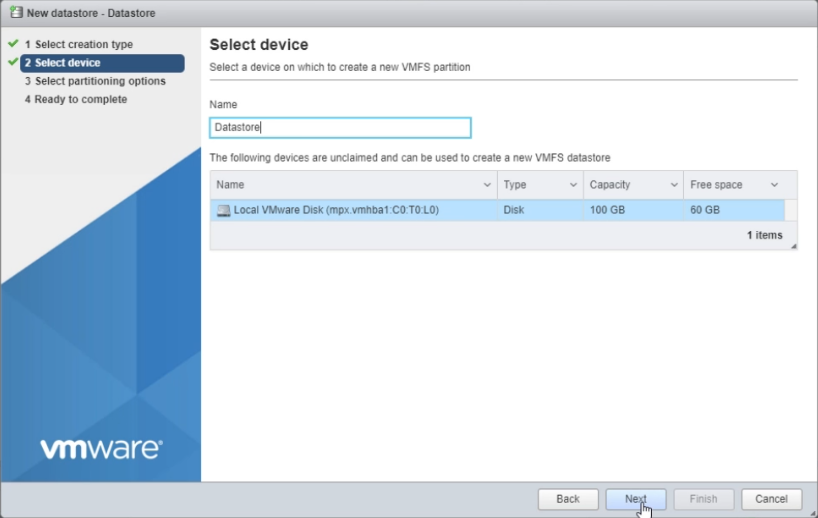
Give the storage location a name and select the device to create storage on (maybe more than one listed) then Next.

Move the blue slider bar all the way to the right to use all of the disk, then click Next.
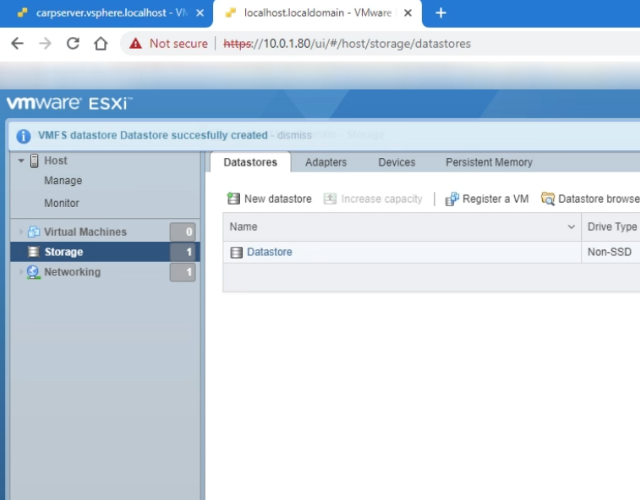
You should now see the new datastore listed.
4. Create virtual machine
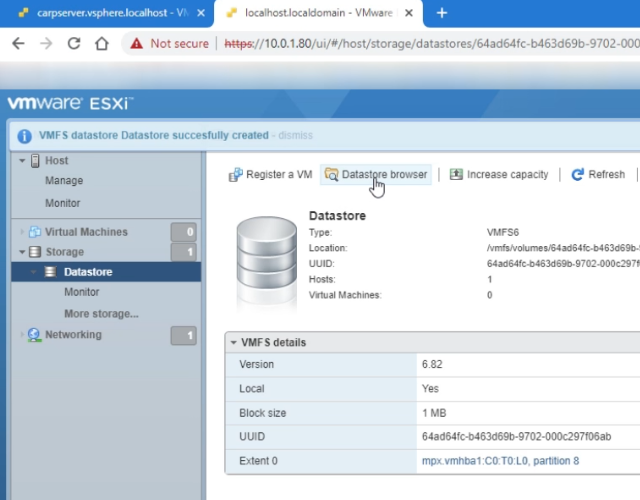
Go to Storage then the datastore you created then click Datastore browser.
Before you can create a virtual machine you will need the ISO for the operating system you wish to install. We will be using Ubuntu 22.04.2
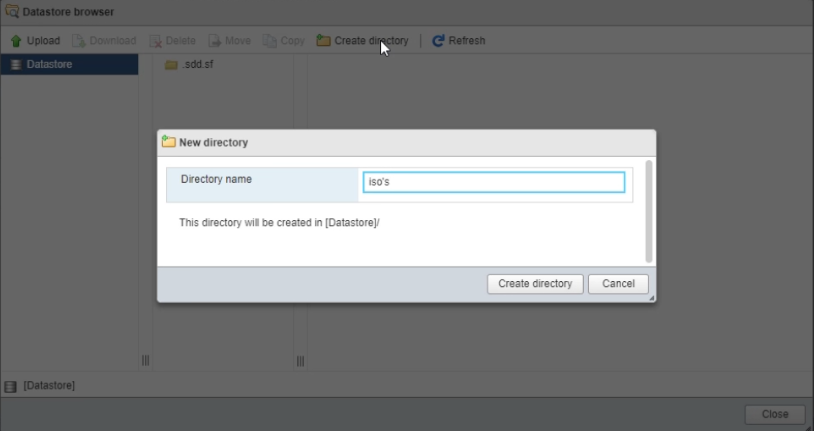
Select Create directory and give it a name, then click Create directory.
Then select that directory and upload the IOS file required.
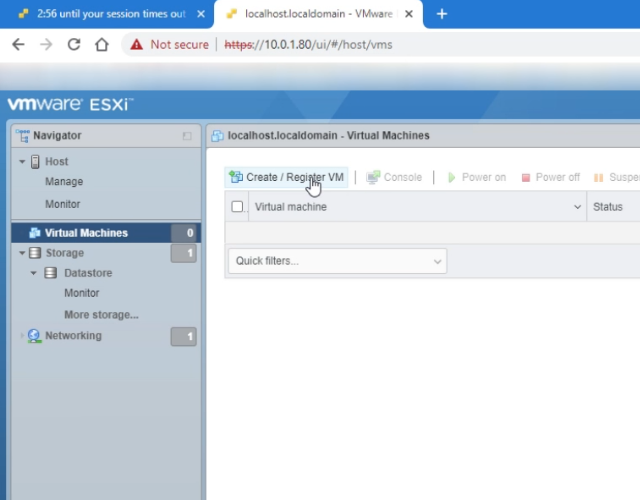
To create the virtual machine select Virtual Machines then select Create / Register VM.
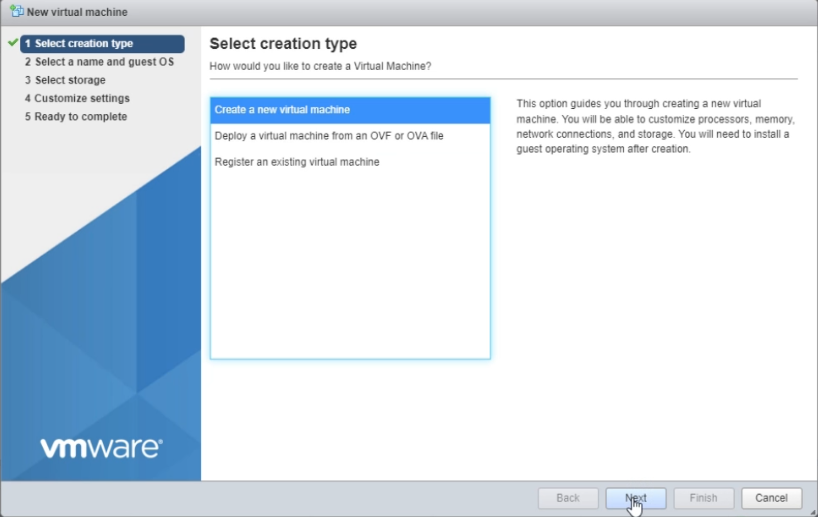
Select Create a new virtual machine then click Next.
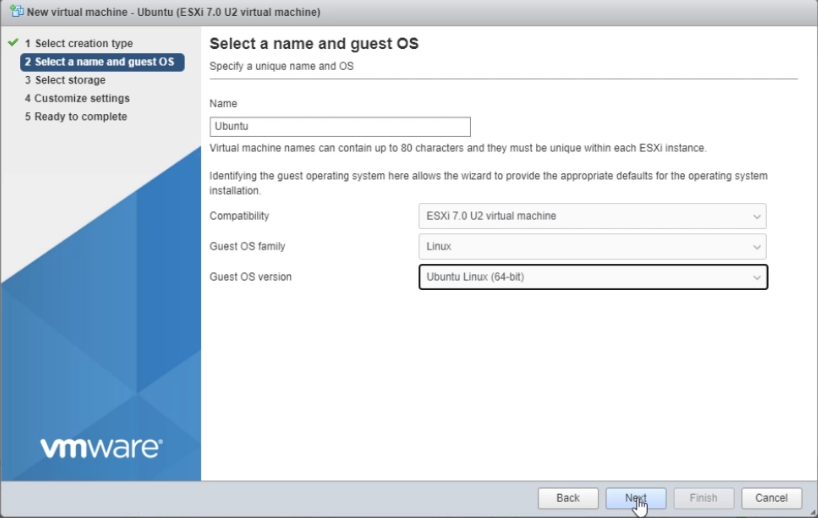
Give the VM a name and for Ubuntu it is Linux and we are using the Ubuntu Linux (64 bit) version.

Select where you would like to save the virtual machine, then select Next.
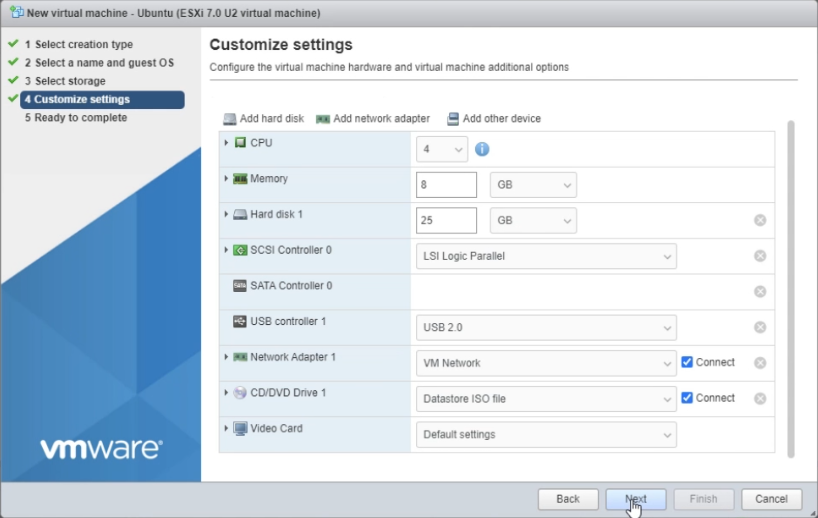
Select at least 4 CPU’s, 8-16G of Memory, min 25G Hard Disk and under CD/DVD Drive 1 select Datastore ISO file and select the ISO file you uploaded, then click Next.
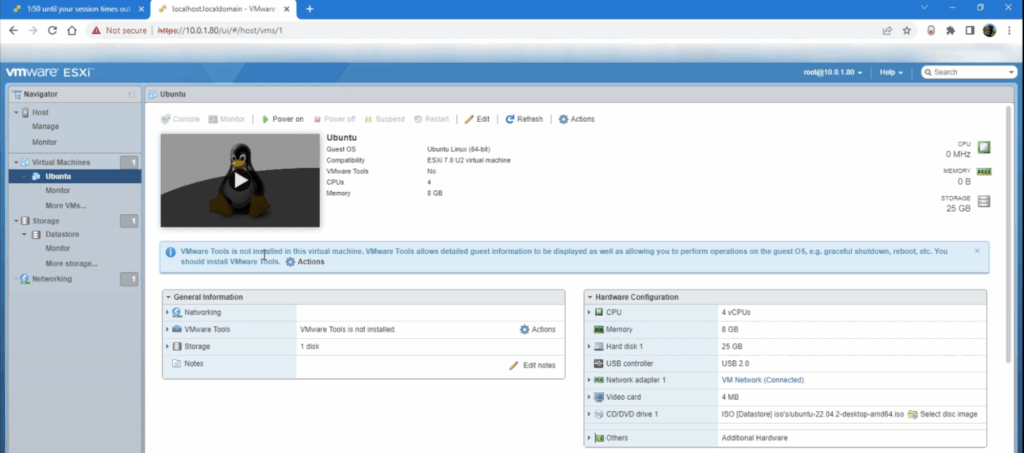
You should be greeted with the new virtual machine ready to install the ISO (Ubuntu).
On how to install Ubuntu further please follow the Install Ubuntu walk through.